
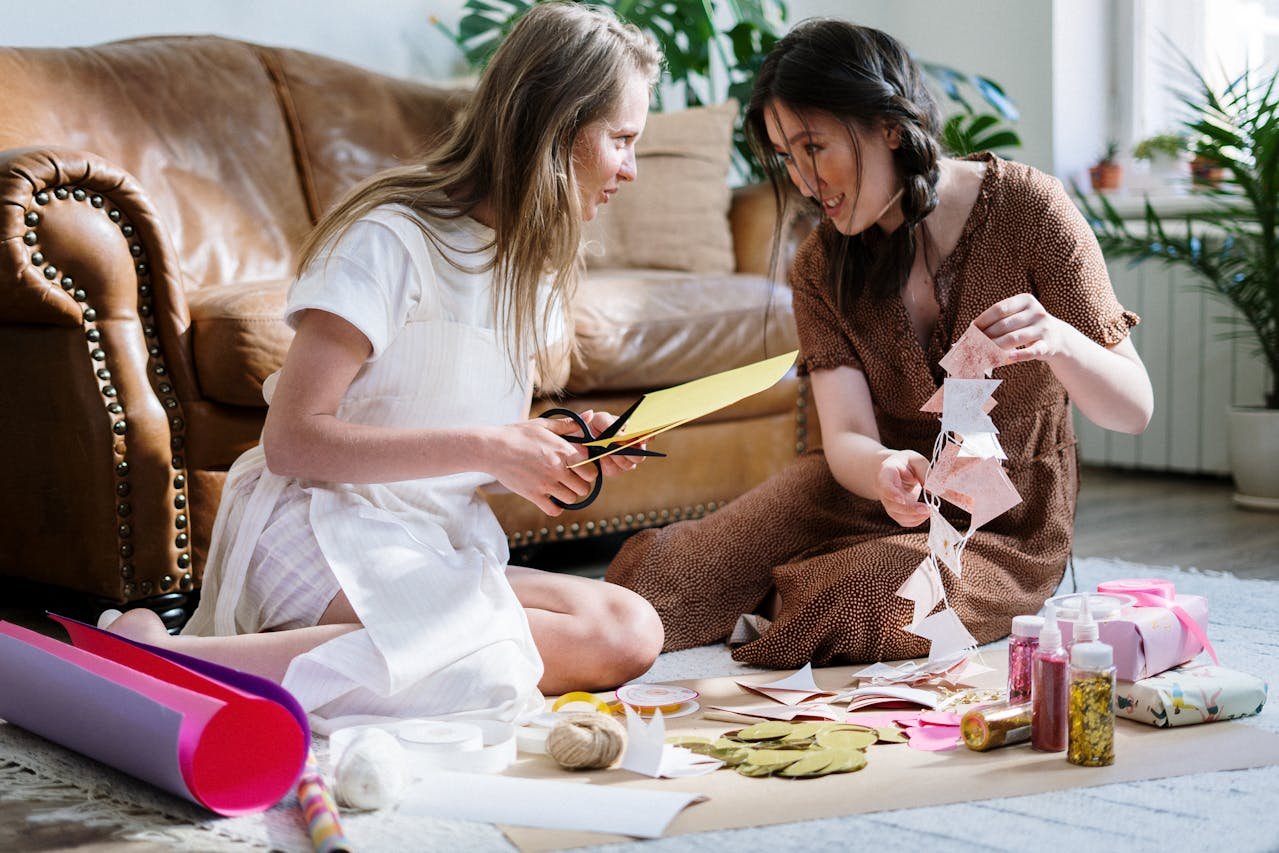
A DIY craft party is a fun and creative way to bring people together while making personalized, handmade projects. Whether you’re planning a craft party for kids, a relaxing craft night for adults, or a holiday-themed event, organizing a well-structured and engaging craft session ensures everyone has a great time!
This guide will take you through step-by-step instructions to plan a successful and enjoyable DIY craft party for any age group.
Step 1: Choose a Craft Theme & Project 🎯
📌 How to Pick the Right Craft Project:
✔ Consider the Age Group – Simple crafts for kids, detailed projects for adults.
✔ Select a Seasonal or Holiday Theme – Christmas ornaments, Halloween decorations, or summer DIYs.
✔ Use Easily Available Materials – Avoid complex or expensive supplies.
✔ Keep It Fun & Mess-Free – Crafts that require minimal drying time or cleanup.
📌 Fun Craft Ideas for Kids:
🎨 Painted Rocks – Fun and simple for all ages.
📸 DIY Picture Frames – Decorate with stickers and glitter.
✂️ Paper Crafts – Origami, card-making, or paper masks.
💎 Friendship Bracelets – Colorful and easy to make.
🎭 DIY Puppet Making – Using socks, felt, and googly eyes.
📌 Creative Craft Ideas for Adults:
🕯 Candle Making – Custom scented candles.
🎨 Wine Glass Painting – Personalized drinkware.
🌿 Terrarium Building – Mini indoor gardens.
📿 Jewelry Making – Beaded bracelets or polymer clay earrings.
🖌 Canvas Painting Party – Step-by-step painting fun.
💡 Tip: Choose a craft that can be completed within 1-2 hours so guests don’t lose interest.
Step 2: Pick the Perfect Location 📍
📌 Best Venues for a DIY Craft Party:
🏡 At Home – Cozy and cost-effective.
🎨 Art Studios or Craft Shops – Some venues offer pre-set craft kits.
☕ Cafés & Community Centers – Relaxed and social settings.
🌳 Outdoor Parks or Gardens – Ideal for nature-inspired crafts.
💡 Tip: If working with paint or glue, use disposable table covers to protect surfaces!
Step 3: Send Invitations & Ask Guests to RSVP 📩
📌 How to Invite Guests:
✔ Send Digital Invites – Canva, Evite, or WhatsApp.
✔ Create a Facebook Event or Group Chat – For updates and questions.
✔ Set a Crafting Limit – Keep it small (6-12 people) for a smooth experience.
📌 What to Include in the Invitation:
✔ Date, time, and location.
✔ Type of craft project (so guests know what to expect).
✔ Any materials guests should bring (optional).
✔ Dress code (casual or themed).
💡 Tip: If crafting involves paint or glue, tell guests to wear old clothes or aprons!
Step 4: Gather Craft Supplies & Materials 🎨
📌 DIY Craft Party Essentials:
✔ Craft Kits or Pre-Packaged Materials – Avoids last-minute shopping stress.
✔ Paints, Brushes & Markers – For decorating and adding details.
✔ Scissors, Glue & Tape – Basic crafting tools.
✔ Beads, Stickers & Decorative Items – For added creativity.
✔ Aprons & Disposable Gloves – To keep hands and clothes clean.
💡 Tip: Set up a craft station with individual supply kits so everyone has what they need!
Step 5: Set Up the Crafting Area for Maximum Comfort 🛋️
📌 How to Arrange the Space for a Craft Party:
✔ Long Tables with Plenty of Elbow Room – Avoids crowding.
✔ Assigned Craft Stations – Each guest has their own materials.
✔ Good Lighting – Essential for detailed crafting work.
✔ Music or Soft Background Sound – Keeps the atmosphere lively.
✔ Trash Bins Nearby – For easy cleanup of scraps and materials.
💡 Tip: Label supply stations to help guests find what they need easily!
Step 6: Provide Step-by-Step Instructions 📝
📌 How to Guide Guests Through the Craft:
✔ Start with a quick demo or tutorial.
✔ Offer printed instructions or a video guide.
✔ Let guests work at their own pace.
✔ Assign a craft assistant (a friend or co-host) to help with tricky steps.
💡 Tip: If it’s a kids’ craft party, have pre-made examples for inspiration!
Step 7: Add Fun Crafting Challenges & Games 🎉
📌 Ways to Make the Craft Party More Fun:
✔ Fastest Crafter Challenge – Who finishes first?
✔ Most Creative Award – Best decoration or design.
✔ Craft Swap – Trade projects with another guest.
✔ DIY Craft Trivia – Fun facts about art and crafting.
💡 Tip: Offer small prizes (stickers, craft kits, or handmade gifts) to winners!
Step 8: Prepare Easy Snacks & Drinks 🍪☕
📌 Best Snacks for a Craft Party:
✔ Finger Foods – Mini sandwiches, fruit skewers, and cheese boards.
✔ No-Mess Snacks – Crackers, nuts, and popcorn.
✔ DIY Snack Bar – Guests customize their own treats.
✔ Cupcakes or Cookies – Can double as edible crafts!
📌 Drink Ideas:
✔ Lemonade or Mocktails – Light and refreshing.
✔ Coffee & Tea – Perfect for adult craft nights.
✔ Hot Chocolate Bar – Great for winter craft parties.
💡 Tip: Avoid greasy or sticky foods that could ruin craft materials!
Step 9: Capture the Memories & Showcase the Crafts 📸
📌 Ways to Document the Craft Party:
✔ Photo Booth with Props – Fun for guests and social media.
✔ Before & After Photos – Show craft progress.
✔ “Best Craft” Voting – Guests pick their favorite creations.
✔ Instagram Hashtag (#DIYParty2024) – So guests can share their work.
💡 Tip: Create a craft display table where guests can showcase their finished projects before taking them home!
Step 10: Clean Up & Send Guests Home with Goodies 🎁
📌 Post-Party Cleanup Tips:
✔ Have trash bags & wipes ready for easy cleanup.
✔ Provide labeled bags or boxes for guests to take home their crafts.
✔ Send thank-you notes or small party favors (stickers, mini paint sets).
💡 Tip: If there are extra supplies, offer guests a “DIY Take-Home Kit” for more crafting fun!
Final Thoughts: A Craft Party to Remember! 🎨🎉
A DIY craft party is a great way to express creativity, relax, and have fun with friends or family. With the right supplies, easy-to-follow projects, and a welcoming atmosphere, you can create an unforgettable crafting experience for everyone!
🎯 Next Steps:
✔ Pick a craft theme & project.
✔ Gather supplies & set up the space.
✔ Plan fun activities, food, and music!